

Turn tomato trimmings into new plants
You might be tossing away those small lateral shoots from your tomato plants without a second thought. But what if this simple act could transform into your best-kept secret for multiplying your plants for free in just a few days? It’s quick, cost-effective, and surprisingly reliable.
Understanding the value of suckers
Those little shoots, known as suckers, sprout between the main stem and its branches. While they may appear unnecessary, these shoots contain tissues capable of producing roots with ease. In essence, a healthy little sucker can grow into an independent plant.
For gardeners, this means fewer trips to the nursery, and for your vegetable patch, it allows for more plants without overcrowding. It’s also a sustainable practice; you’re reusing a resource from your garden instead of relying on plastic.
Materials and ideal conditions
- Suckers around 4 to 6 inches long.
- A simple glass of water or a small clear container filled with room temperature water (about one glass per cutting).
- A pot measuring 3 to 5 inches in diameter or a spot in your garden with light, well-draining soil and mature compost. For potting, use a mix of two parts garden soil to one part compost.
- A bright window without direct sunlight. Ideal temperature: between 65°F and 72°F.
Simple steps for Water propagation
Cleanly Harvest the Sucker: Pinch the base of the sucker between your thumb and forefinger to avoid damaging the main stem.
Trim the Leaves: Remove the lower leaves, leaving 2 to 4 at the top. Submerged leaves can rot and hinder rooting.
Place in Water: Position the sucker in the glass of water, ensuring the nodes are submerged but the leaves are not. About 1 to 2 inches of water below the nodes will suffice.
Find a Bright Spot: Place the glass near a well-lit window and change the water every 2 to 3 days to prevent bacteria growth.
Observe Growth: In 5 to 10 days, you should see small white roots starting to emerge. Wait until they reach 2 to 3 inches before transplanting.
Transplanting and post-planting care
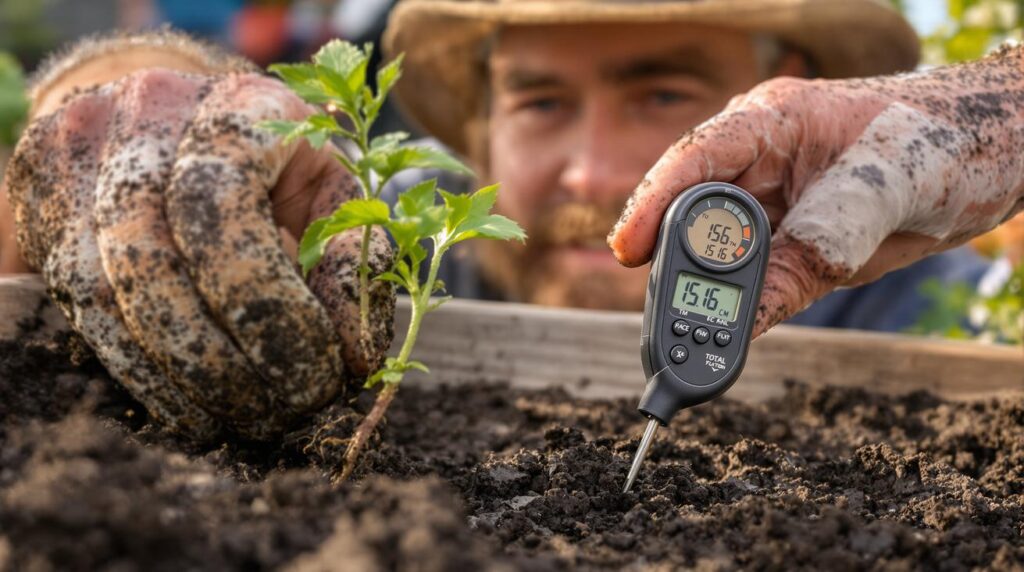
When the roots measure 2 to 4 inches, it’s time to plant. Dig a hole deep enough to bury a significant portion of the stem, as tomatoes develop roots along the buried section, which strengthens their root system.
Use a light soil mix enriched with compost, and water generously to settle the soil around the roots, avoid wetting the leaves, as moisture on them can promote disease.
Plant preferably in the late afternoon or on cloudy days to minimize stress from the sun. If keeping the young plant in a pot, choose one that’s at least 4 to 5 inches in diameter to allow for root development.
Tips for success
- Select soft, green suckers. Avoid woody or diseased stems.
- Don’t take too many cuttings from a single plant, as this could weaken the mother plant.
- Change the water regularly, and use room temperature water.
- This technique works particularly well in spring when sap flow is robust.
- If uncertain, consider using a rooting hormone to hasten the process, although it’s not strictly necessary.
What to expect
In just a few weeks, your new plants can often catch up in size to store-bought ones. They’ll grow robustly and adapt quickly to your garden. If you propagate in the spring, you might even harvest from these new plants in the same season.
Beyond enhancing your garden’s productivity, this method transforms a simple pruning task into a resourceful solution. You’ll save money, grow more, and reduce plastic waste.
Next time you prune your tomatoes, don’t discard those little shoots. Try out this water propagation method, you may be pleasantly surprised by how quickly they root and thrive in your garden.